English | MP4 | AVC 1280×720 | AAC 48KHz 2ch | 1h 22m | 552 MB
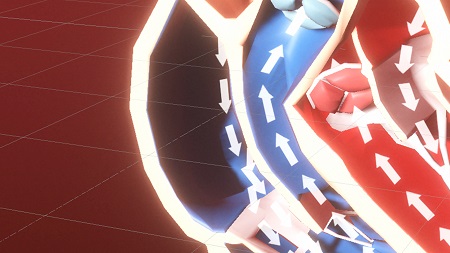
Unity isn’t just for games. The powerful 3D engine can be used to created educational assets, like the medical visualization featured in this three-part series: an animated 3D human heart. In the first course of the series, instructor Alan Thorn shows how to plan and design this interactive 3D project, covering aspects such as asset management, scene and level design, lighting, user experience, and post processing. Learn how to use the Unity universal render pipeline, import and configure mesh assets, and use Cinemachine and scripts behaviors to add meaningful interactivity.
Topics include:
- Creating your Unity project
- Importing and configuring assets
- Designing and lighting the scene
- Creating the interface and interactions
- Stacking cameras
- Post-processing: Bloom, grain, color, and more
Table of Contents
1 Introducing medical visualization
2 Exercise files
3 Create a new project
4 Importing assets into Unity
5 Configuring assets
6 Optimizing the scene
7 Preparing for the project
8 Getting started with scene design
9 Building scene lighting
10 Completing the lighting
11 Creating notices and pop-ups
12 Creating interactables and UIs
13 Working with UI text
14 Camera stacking
15 Enabling post-processing
16 Adding bloom and film grain
17 Refining effects
18 Completing effects
19 Next steps
Resolve the captcha to access the links!