English | MP4 | AVC 1280×720 | AAC 44KHz 2ch | 1h 43m | 297 MB
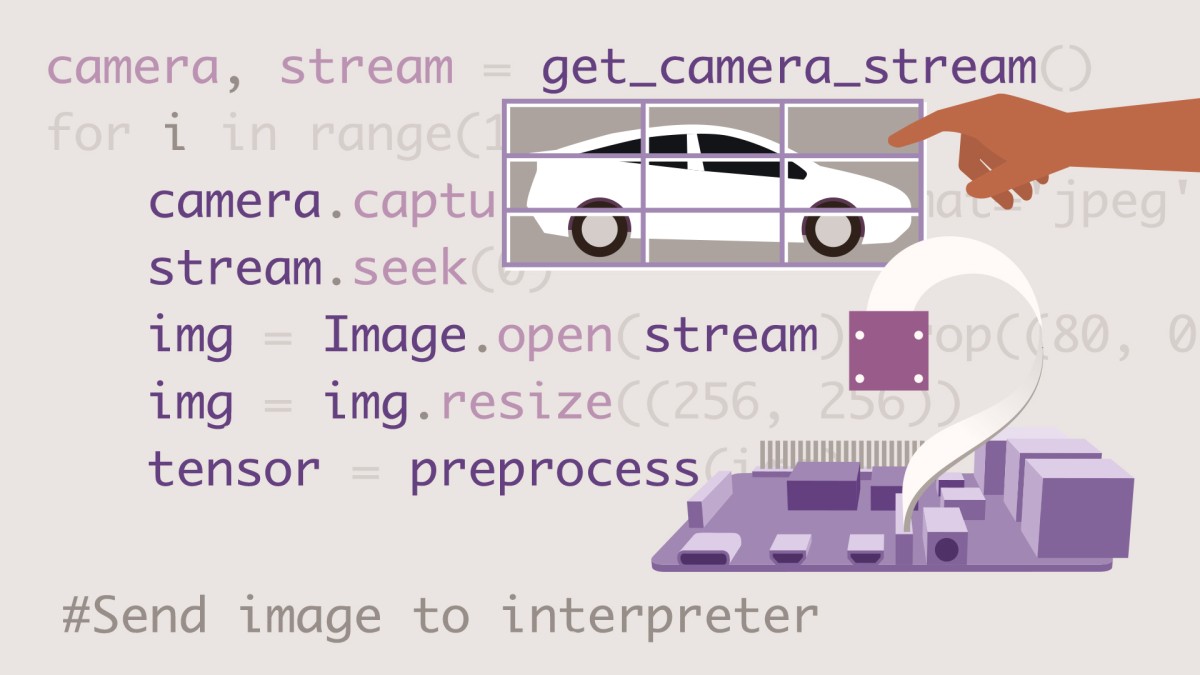
More and more applications are using computer vision to detect and recognize objects. These applications usually execute on large computers, but developers can save money and power by running them on single-board computers (SBCs). The Raspberry Pi 4 is one of the most popular SBCs available. It’s also the first computer in the Raspberry Pi family powerful enough to execute computer vision applications. Also, the software needed to build these applications can be downloaded freely from the Internet. In this course, instructor Matt Scarpino shows programmers how to write and execute computer vision applications on the Raspberry Pi 4. Matt introduces you to using the Thonny IDE, the OpenCV library, and NumPy array operations. He steps through object detection and neural networks, then explores convolutional neural networks (CNNs), including the Keras package and the TensorFlow package. Matt also walks you through what you can do with a Raspberry Pi HQ camera.
Table of Contents
Introduction
1 Getting started with computer vision
2 What you should know
3 Using the exercise files
1. Programming Python on the Raspberry Pi 4
4 Introducing the Raspberry Pi 4
5 Setting up the environment
6 Using the Thonny IDE
2. OpenCV on the Raspberry Pi
7 Introducing OpenCV
8 NumPy array operations
9 Running a simple image processing example
10 Theory of convolution
11 Convolution in OpenCV
3. Object Detection
12 Computing image gradients
13 Forming histograms of gradients (HOGs)
14 Computing HOGs in OpenCV
15 Understanding Support Vector Machines (SVMs)
16 Detecting objects with HOGs and SVMs
4. Understanding Neural Networks
17 Introducing neural networks
18 Training neural networks
19 Creating neural networks in OpenCV
20 Classifying irises with a neural network
5. Convolutional Neural Networks (CNNs)
21 Introducing convolutional neural networks (CNNs)
22 Creating CNNs with Keras
23 Training CNNs with TensorFlow
24 Executing models with TensorFlow Lite
25 Recognizing objects with the Raspberry Pi
6. The Raspberry Pi HQ Camera
26 Introducing the picamera package
27 Accessing a Raspberry Pi camera in Python
28 Object detection with a Raspberry Pi camera
29 Object recognition with a Raspberry Pi camera
Conclusion
30 Next steps
Resolve the captcha to access the links!