English | MP4 | AVC 1280×720 | AAC 48KHz 2ch | 0h 57m | 151 MB
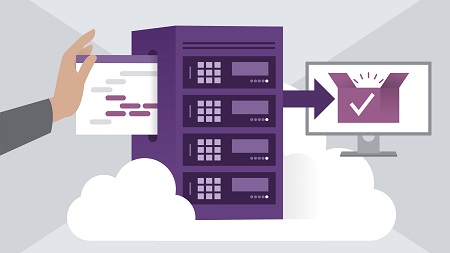
As a developer, you need to field a constant flow of requests for new features, updates, and bug fixes. By implementing an automated development workflow, you can more effectively keep up with these demands. Curious about how to automate a new or existing project for your team? In this course, learn how to set up proper source control for your web app and configure a fully automated continuous integration and continuous delivery (CI/CD) pipeline in Azure. Instructor Adrienne Braganza Tacke demonstrates how to create a web app in both Visual Studio and the Azure portal; set up source control for your app using Azure DevOps and GitHub; and create build and release pipelines in Azure DevOps.
Topics include:
- Creating a web app in the Azure portal
- Setting up source control for your app
- Setting up an existing app on Azure DevOps and GitHub
- Creating a build pipeline in Azure DevOps
- Adding build pipeline triggers
- Creating a release pipeline in DevOps
- Adding release pipeline triggers
- Manually queuing a release
Table of Contents
1 Automate your Azure development workflow
2 What you should know
3 Create a web app in the Azure portal
4 Create a web app in Visual Studio
5 Publish your app to Azure
6 Initialize a new repo using Azure DevOps
7 Initialize a new repo using GitHub
8 Set up an existing app on Azure DevOps
9 Set up an existing app on GitHub
10 Create a build pipeline in Azure DevOps
11 Configure your build steps
12 Add build pipeline triggers
13 Queue manual builds when necessary
14 Create a release pipeline in DevOps
15 Set up your artifact
16 Add release pipeline triggers
17 Configure your stages
18 Set up deployment conditions
19 Queue manual releases when necessary
20 Next steps
Resolve the captcha to access the links!